Table of Contents
ToggleWhat is UNP Education LMS?
UNP Education Learning Management System (LMS) is an innovative platform designed to streamline online education and training. It offers everything you need to enhance learning—from structured courses to engaging tools like live classes and forums.
Why Use UNP Education LMS?
The platform simplifies learning for students and professionals alike. Whether you want to upskill, earn certifications, or teach online, UNP education LMS provides a seamless experience. It’s user-friendly, accessible, and packed with features that cater to diverse learning needs.
Getting Started with UNP Education LMS
Creating an Account
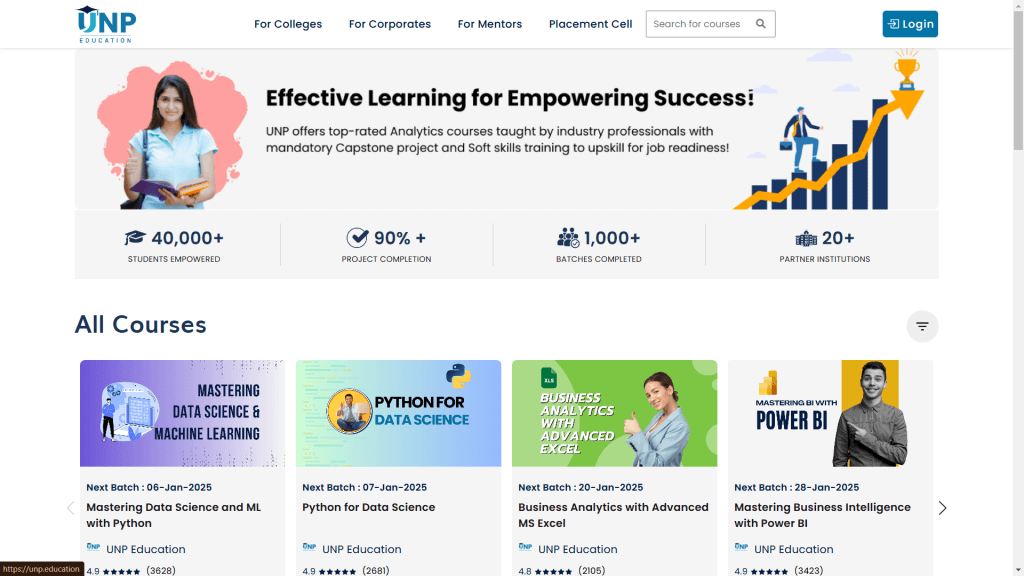
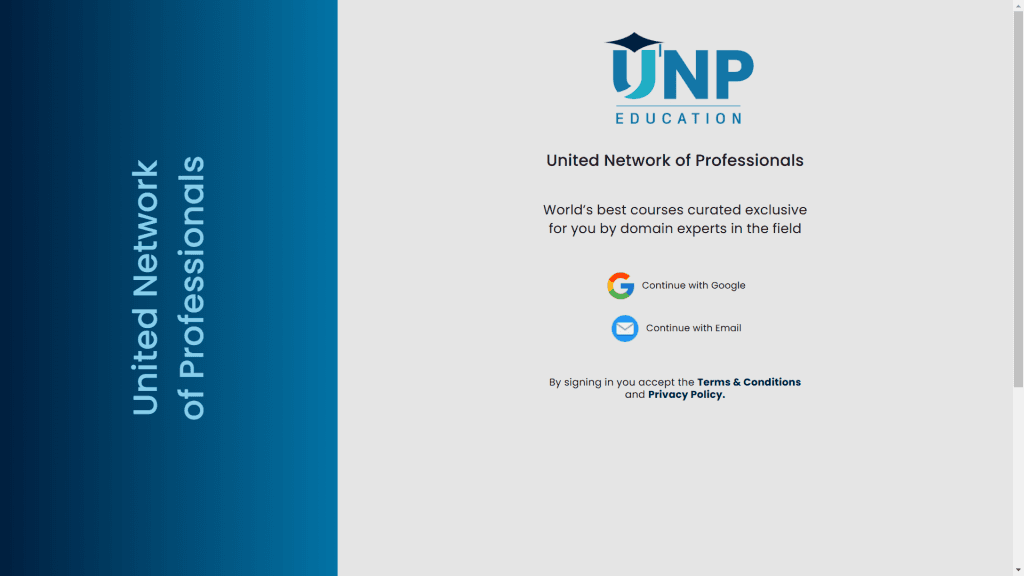
Signing up is a breeze! Visit the Unp.education website, click on “Sign Up/Login” and fill in the required details. You’ll receive a confirmation email—just follow the link to activate your account.
Next step :Logging In for the First Time
Once your account is active, return to the login page, enter your credentials, and voila! You’re in. Make sure to set a strong password to keep your account secure.
Understanding the Dashboard
Overview of Features
The dashboard is your command center. From here, you can access courses, track progress, and manage account settings. The intuitive design ensures everything is just a click away.
Searching for Courses
Looking for something specific? Use the search bar or Scroll down to all courses to find courses that match your interests.
Courses Details
So after selecting your desired course, you can explore all the details under sections like “About the Course” and “What You Will Learn.” If you’d like more information about the course content, you can also download the brochure from the same page.
Enrolling in a Course
Once you’ve found the perfect course, click “Join Now.” After clicking a pop up wil appear showing a conformation by displaying course name and Batch name ,click on proceed on right bottom side ,then a Razorpay Payment gateway page appear on screen.
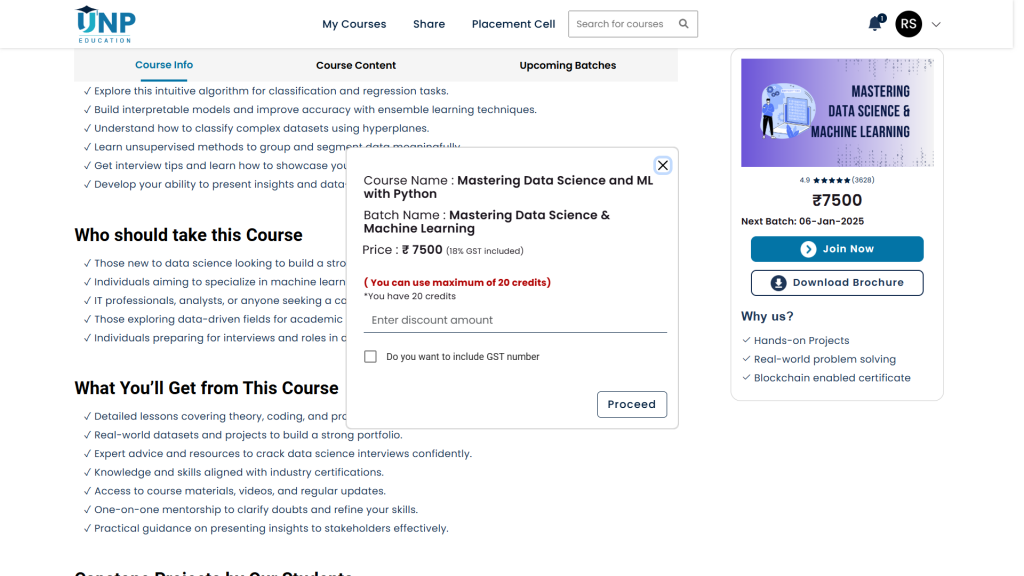
Click on Proceed Button
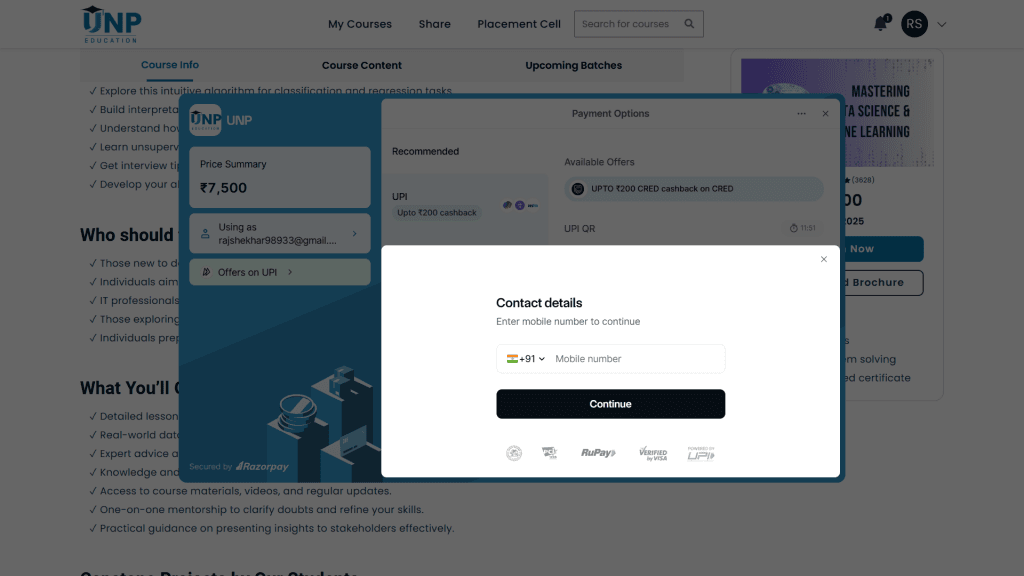
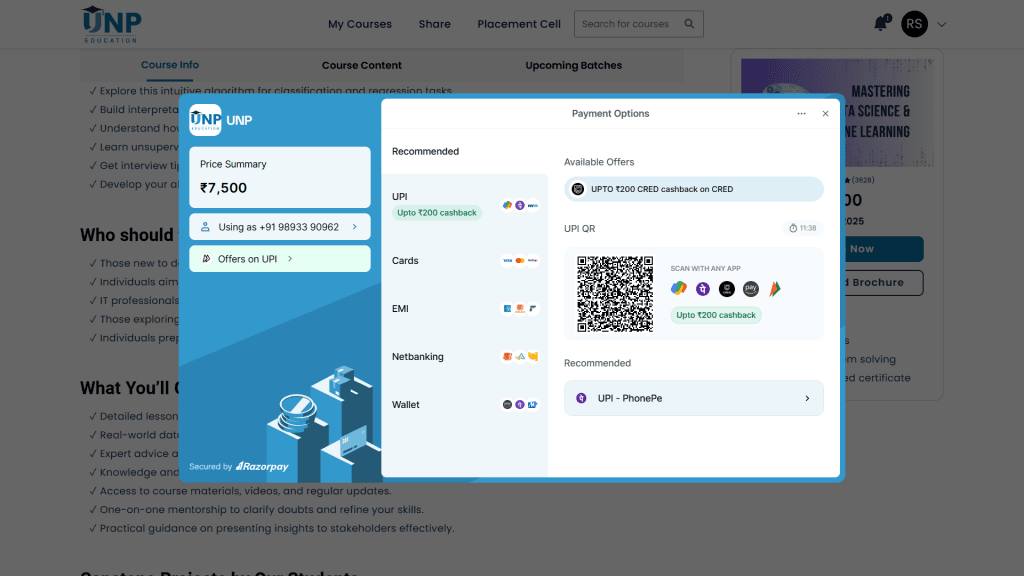
Enter mobile number and Other data, make payment then you will redirected to enrolled course section.
Course Interface Breakdown
Course Layout
Each course is organized into modules for easy navigation. The left-hand panel displays the syllabus, while the main screen shows the content.
Accessing Course Materials
Materials like videos, PDFs, and quizzes are accessible directly within the course. You can even download some resources for offline use.
Course LMS Breakdown
Accessing the LMS
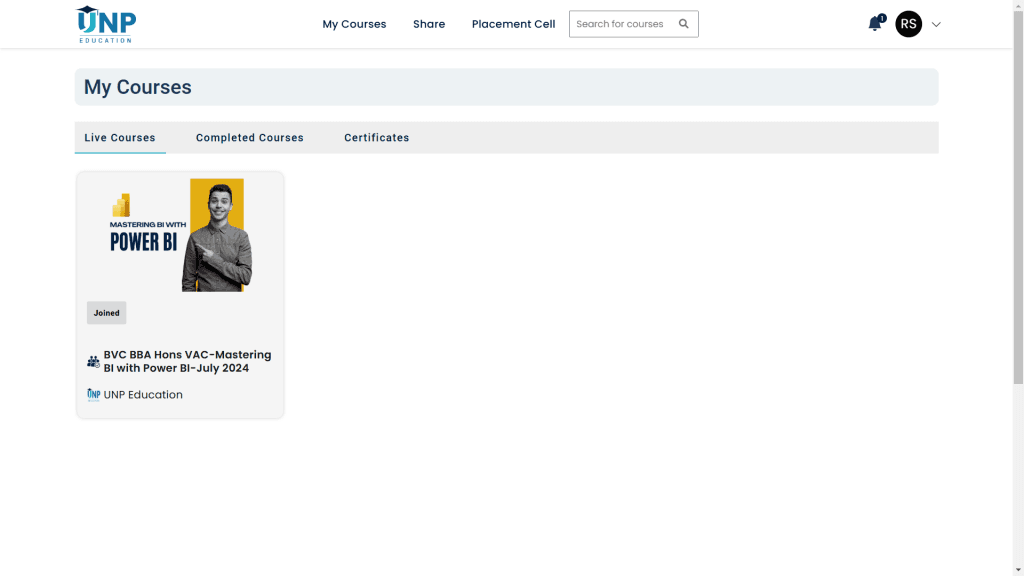
- Navigate to UNP Education’s website.
- Click on the “My Courses” section after logging into your account.
Selecting Your Course
- Once in “My Courses,” you’ll see the list of all the courses you’ve enrolled in.
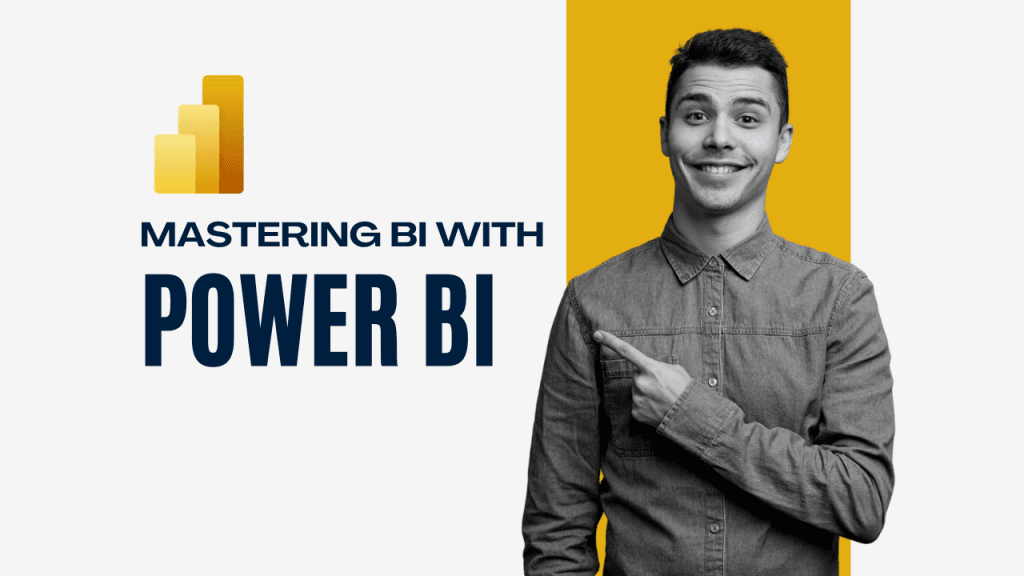
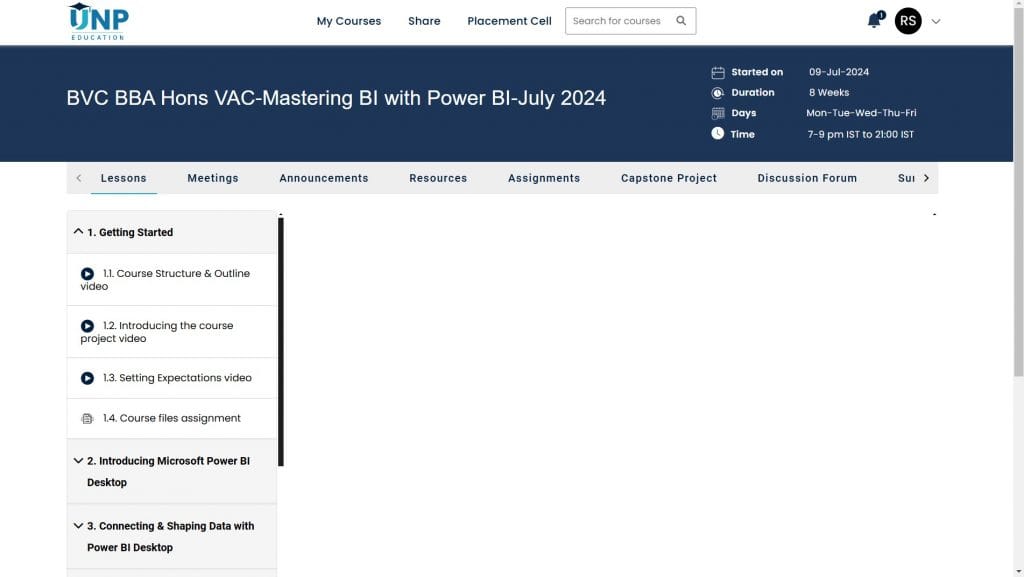
- Select the desired course by clicking on its title (e.g., “BVC BBA Hons VAC – Mastering BI with Power BI – July 2024”).
Course page top Banner Details
Course Title
- The top banner prominently displays the name of the course:
“BVC BBA Hons VAC – Mastering BI with Power BI – July 2024”- This ensures you’re on the correct course page.
- The top banner prominently displays the name of the course:
Course Timeline & Information
- Below the course title, a timeline provides essential details:
- Started On: Displays the course start date (e.g., 09-Jul-2024).
- Duration: Indicates the length of the course (e.g., 8 Weeks).
- Days: Lists the scheduled days of instruction (e.g., Mon-Tue-Wed-Thu-Fri).
- Time: Specifies the daily class timing (e.g., 7–9 PM IST).
- Below the course title, a timeline provides essential details:
Course Interface Overview
- The selected course page is divided into key sections such as:
- Lessons: Contains the course modules and their materials.
- Meetings: Access to live classes or scheduled webinars.
- Announcements: Updates or important notices from the instructor.
- Resources: Downloadable PDFs, guides, or additional learning materials.
- Assignments: A section to submit course-related tasks.
- Capstone Project: Final course project (if applicable).
- Discussion Forum: Space to interact with peers and instructors.
- Each of these sections can be accessed via tabs at the top.
Navigating Lessons
- In the Lessons tab, you’ll see the course syllabus divided into expandable modules.
- Example:
- 1. Getting Started: Introductory videos, course outline, and assignments.
- 2. Introducing Microsoft Power BI Desktop: Tutorials on using Power BI.
- 3. Connecting & Shaping Data: Practical lessons for hands-on learning.
- Example:
- Each module contains sub-topics, often represented as videos, assignments, or PDFs.
Tracking Course Progress
- Lessons or topics you’ve completed are marked accordingly.
- The system allows you to revisit any module as needed.
Participating in Meetings and Discussions
- Click on the “Meetings” tab for live sessions. Details like dates and times are displayed.
- Use the Discussion Forum to ask questions or engage in peer collaboration.
Submitting Assignments
- Under the Assignments tab, upload completed work following the provided instructions.
- You can track the status of your submissions here.
Completing the Course
- Ensure all modules, assignments, and quizzes are completed.
- After fulfilling all requirements, download your certificate from the Achievements section.
Unlock Your Business Intelligence Potential with Power BI!